
Create illuminated photo lithophane globe ornaments with one to four photos, framed or wrapped layouts, adjustable lithophane quality, screw-on cap, backlight preview and optional micro fairy-light support.
Custom Photo Lithophane Ornament Builder
Turn favorite family photos, pet portraits and other memories into 3D-printable, light-transmitting holiday ornaments. Choose a curved photo lithophane globe or a flat circular lithophane with a hanging loop, then customize the photo orientation, size, thickness and printable layout.
Start with one centered Focused Photo Panel inside a rounded-rectangle frame, with a 2.5 mm border and a subtle 0.1 mm raised depth. You can change photo count, framing, coverage and thickness in the builder. Backlight Preview illuminates the same upright photo relief without flipping the image or changing the exported 3D geometry.
Focused Photo Panel mode reads the uploaded photo’s proportions and automatically adjusts the panel’s width and height based on the curved globe’s actual dimensions. Constrain Proportions is available only with Fit Entire Photo, where it is enabled by default: adjusting width updates height and vice versa. Rotate a photo and the aspect adjustment follows its new orientation. With multiple images, all panels share a non-overlapping size based on the first photo; other photos fit completely within their frames without stretching. For very wide or tall photos, the builder respects the safe panel bounds and uses padding instead of distorting the image. With Crop to Fill or Stretch to Fit, the panel width and height are always independent. Changing Image Fit does not change the saved Constrain Proportions preference.
Crop to Fill with a movable crop box: choose Crop to Fill in Input, then drag the crop box to position the photo or grab its blue handles to resize the selection and the focused globe photo panel. The width and height percentages update beside the image and stay synchronized with the precise panel controls. A live cropped-image preview updates instantly, while the 3D model refreshes when you release the box. Center Crop restores the centered starting view. Each photo has an independent saved crop position, including multi-photo globes. The interactive preview uses a reduced surface-resolution budget to help controls respond; final STL, OBJ, or 3MF exports rebuild at your selected full resolution.
Photo Globe with a Closed Fairy-Light Cap or Christmas LED Socket
The globe uses a removable PETG snap-fit cap, avoiding the need to twist a prewired light string. In unlit mode, the cap has a completely solid rounded crown, a centered hanging loop and no wiring openings. For battery fairy lights, place the measured low-heat strand through the open globe neck before installation, then lay the battery wire in the two matching narrow notches at the back of the globe neck and snap-on cap. The fairy-light cap has a solid top and centered hanger; no oversized feed hole interrupts the crown. For a measured Christmas tree LED, a separate cap accepts the bulb through a crown port, seats its wider socket shoulder above the port, and routes its attached wire through a rear-facing cap slit without a redundant loop by default. The Backlight Preview control in the Preview section simulates illumination without changing exported geometry. Measure real hardware and verify fit, heat and suspension strength before use.
Christmas lights do not share a single socket size. The Builder checks whether the specified bulb, shoulder and wire opening can fit the selected globe, rather than assuming universal compatibility. Never insert incandescent bulbs or hot mains-voltage lamps into a printed plastic globe; physical fit, temperature and snap retention must be verified with your actual LED set.
Compact Removable Globe Print Support
Cleaner snap-neck opening: The globe’s removable top cap now attaches to a collar whose base starts at the inner shell opening rather than projecting downward into the hollow globe. Its outside transitions through a printable chamfer before the original snap features. This removes a localized horizontal shelf that could trigger unwanted supports inside the top opening; it does not guarantee that all inner-globe surfaces will slice without supports. Check overhang previews for your material, layer height and slicer threshold.
Continuous 32° support-friendly globe: The default photo globe keeps its round lower half and central photo sphere intact. Only the upper polar area next to the removable hanger cap transitions smoothly to a minimum 32° surface slope from the horizontal build plate. The globe remains one continuous printed shell; there are no glue-on top or bottom sections. In Advanced, select Original Sphere to restore the exact spherical upper profile.
Printing the rounded bottom: New globe designs rely on your slicer’s generated supports beneath the rounded lower pole. Inspect the first-layer support interface, brim and generated toolpaths for your printer/material before printing. The optional printing scaffold now consists of eight independently removable narrow petals, with no fused attachment tabs and no central pole anchor. A nominal 0.44 mm release gap separates the petals from the globe. It remains off by default. When enabled, inspect your layer heights, use a brim if needed for the isolated petals, and verify that the upper surfaces support but do not fuse to the thin lithophane. The 3MF export also arranges the globe and removable hanger cap on separate non-overlapping plate areas. The 32° upper profile does not guarantee a support-free print: photo relief, frame borders, printer cooling and slicing settings can still introduce local overhangs. The cap and LED fit must also be verified physically.
Flat Photo Ornament with Optional Rear LED Clip
The flat style uses a continuous, seamless disk-and-hanger outline rather than joining a separate ring to the disk. The round hanging hole is cut through the same uniform-thickness structural rim, eliminating the rough overlapping-mesh junction. Fine radial sampling and adjustable photo smoothing retain variable lithophane thickness across the picture while keeping the outer loop and perimeter clean.
For backlighting, enable a separately printable, one-piece PETG LED socket clip with rounded retaining tips and two broad flat mounting pads. Choose a 6 mm, 8 mm, 10 mm or 12 mm socket starting-size preset to set socket diameter, wire width, clip wall, depth, clearance and standoff together; adjust the individual measurements as needed. These dimensions are illustrative starting points, not standardized bulb/socket compatibility specifications. Measure the actual LED socket and wire, check retention and temperature, and attach the clip pads to the rear only after testing.
3D Printing and Assembly Tips
Print the photo lithophane in a white or suitable light-transmitting filament and inspect the final STL, 3MF or OBJ in your slicer. Print the split snap top and detachable rear light clip in PETG, then test cap engagement, socket seating, strain relief and temperature before hanging. Remove the prewired light when changing the cap; do not force a bulb or socket that exceeds the configured openings.
Explore Other Lithophane and Holiday Projects
For more illuminated photo shapes, try the 3D Printable Lithophane Maker and read our guide to custom 3D printable lithophanes. Discover more personalized creations in the 3D Model Builder library.
Related Builders
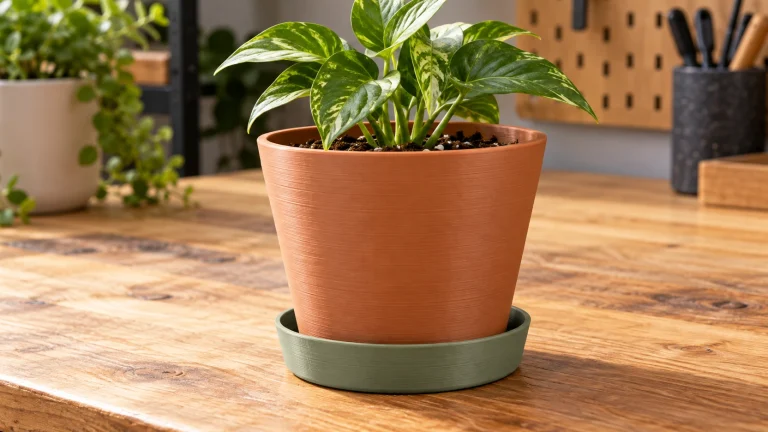
Plant Pot & Drainage Tray Builder
Design a custom 3D printable plant pot with exact dimensions, drainage, and an optional matching tray.

Pumpkin Face & Decorator Builder
Design your own 3D printable pumpkin decorations without modeling software. Mix and match eyes, noses, mouths, surface accessories, and dimensional 3D toppers,…
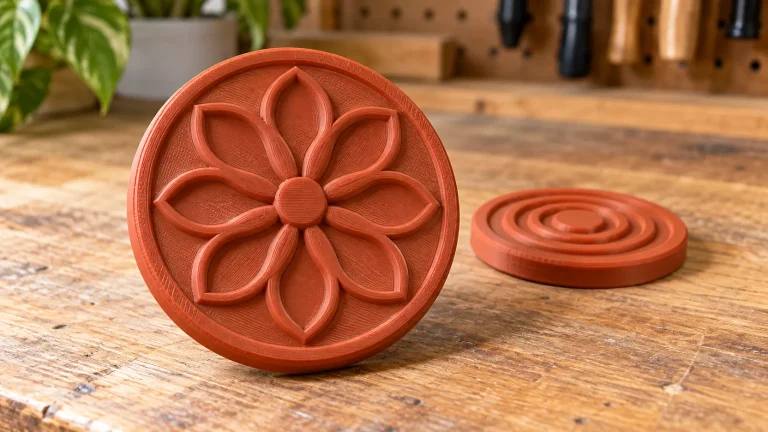
Cookie Stamp Builder
Create personalized cookie stamps with correctly mirrored printable lettering, a readable on-screen preview, and optional enhanced SVG or emoji detail.
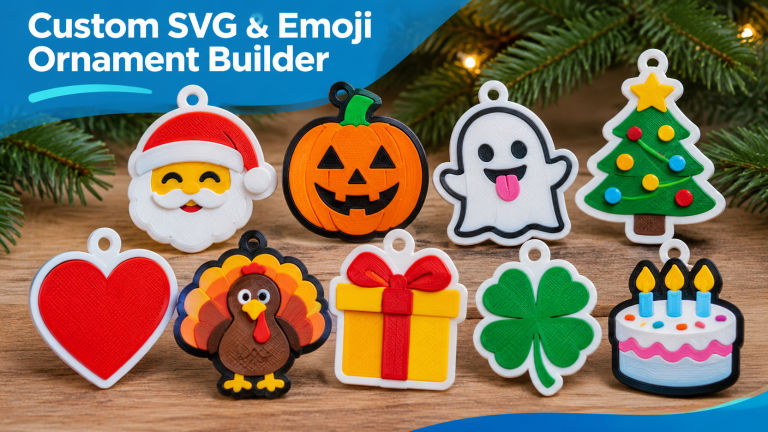
Custom SVG & Emoji Ornament Builder
Create personalized 3D printable ornaments using emojis or custom SVG artwork. Design Christmas, Halloween, Thanksgiving, birthday, and other holiday decorations with customizable…