
Design a 3D printable funnel with a smooth oval strap loop flowing from its reinforced rim, plus solid or hanging-hole tab options.
Use the Custom Funnel Builder to create a 3D printable funnel sized for a bottle, tube or workshop container without CAD software. Set the mouth diameter, spout diameter and length, cone height, wall thickness and reinforced rim. Choose a rounded flat tab, a hanging-hole tab or a vertical side loop for gripping and hanging, then preview and export the model for your slicer.
Customize Your 3D Printable Funnel
Start with the diameter of the receiving opening. Spout Outer Diameter is the external fit measurement; the open passage is approximately the spout outer diameter minus twice the wall thickness. For example, a 22 mm spout with 2.6 mm walls has about a 16.8 mm inner opening. Measure the target container and allow for your printer’s dimensional tolerances before committing to a full-size print.
Adjust Cone Height to control the slope between mouth and spout. A taller cone usually creates more gradual internal overhangs when printed mouth-down. Rim Width and Rim Thickness reinforce the opening, while the optional handle provides a place to grip or hang the funnel.
Choose a Handle Tab or Vertical Loop
Select no handle, a solid tab, a tab with a through-hole, or a rounded oval vertical side loop similar to a handheld funnel grip. The flat tabs offer adjustable width, reach, thickness, roundness and hanging-hole size. The vertical loop is a flat, oval strap with subtly rounded edges. Its visible band thickness automatically matches the reinforced rim, and its upper end blends from inside the solid rim to avoid a raised attachment step. The lower end joins the cone. Use Loop Width, Loop Height and Loop Clearance to adjust the opening, and Loop Depth to set the front-to-back dimension of the strap. Check your slicer’s solid-body preview before handling or hanging a loaded funnel.
Recommended Print Settings
These are starting points for an FDM printer with a 0.4 mm nozzle. Actual settings depend on the selected dimensions, filament, cooling and slicer.
- Material: PLA works for a dry-fit prototype or a light-duty room-temperature utility funnel. Consider PETG for a tougher general-purpose part that may experience slightly warmer conditions; neither is automatically food-safe or chemical-resistant.
- Layer Height: Start at 0.16–0.20 mm; use 0.12–0.16 mm to refine the mouth rim, handle loop, hanging hole or spout finish.
- Walls / Perimeters: Start with 3–4 perimeters and match the slicer wall configuration to the chosen wall thickness. Increase wall count as appropriate when strength or reduced porosity matters.
- Infill: Start with 15–25% gyroid or grid where the slicer creates infill, particularly around the thicker rim or handle. The thin funnel shell will consist primarily of perimeter walls, so infill alone will not make it watertight.
- Orientation: Use Print Layout with the mouth and reinforced rim on the build plate and the spout pointing upward. Confirm that the entire rim makes stable first-layer contact. The vertical loop should remain above the bed without touching it.
- Supports: Start with supports off for a gradual cone. Check the interior slope, the transition to the spout and the underside of the vertical side loop in layer preview. A vertical loop can require targeted supports under its outer arc depending on the printer and loop dimensions.
- Bed Adhesion: A skirt is often sufficient with a broad rim. Add a brim when the rim has limited contact or starts to lift.
Measure, Slice and Test the Fit
Switch between Assembled and Print Layout, then inspect the exported STL, 3MF or OBJ in your slicer for connected geometry, hole clearance, wall count, first-layer contact and any unexpected gaps. Print a short spout fit test first when the connection must be accurate. For liquid use, test seams and leakage with a nonhazardous liquid; 3D printing does not guarantee a sealed, sterile, food-contact-safe or pressure-rated part.
Related 3D Printing Builders
If your project also needs a connection between two differently sized tubes, the Hose Adapter Builder provides adjustable connection diameters and fit clearances. For a reusable storage container with a threaded lid, explore the Custom Screw-Top Container Builder. Both let you customize functional parts to the measurements of your project.
Related Builders
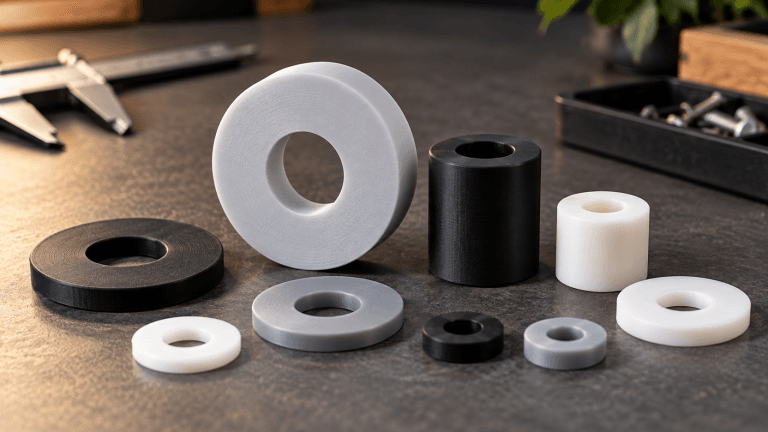
Custom Washer & Spacer Builder
Generate exact-size 3D printable washers, shims, spacer rings, bushings, and solid spacer discs without CAD.
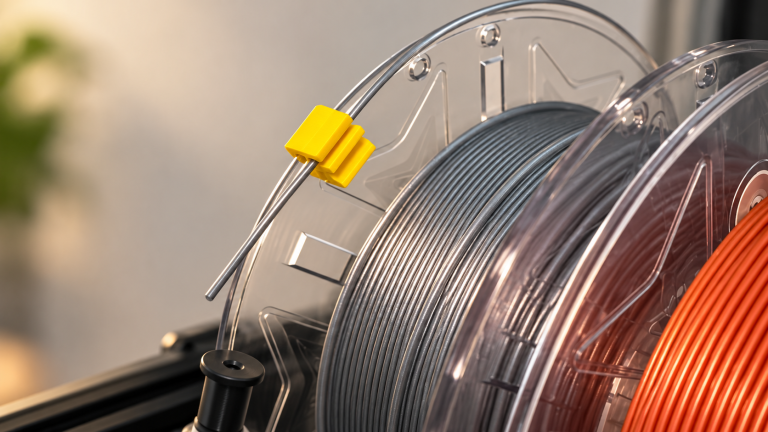
Filament Spool-Rim Clip Builder
Create a printable spool-rim filament clip with optional opposed retaining lips, inner grip ribs, three outer-spine styles and adjustable filament-end retention.
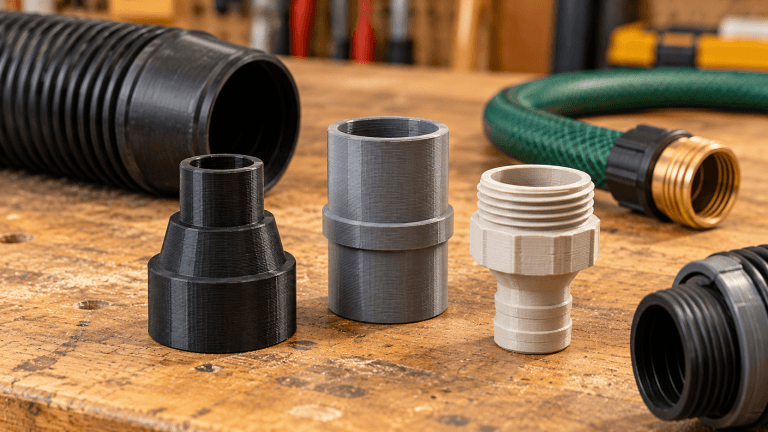
Hose Adapter Builder
Design a custom 3D printable hose or pipe adapter with exact diameters, fit clearance, wall thickness, threaded shaft length, and an optional…
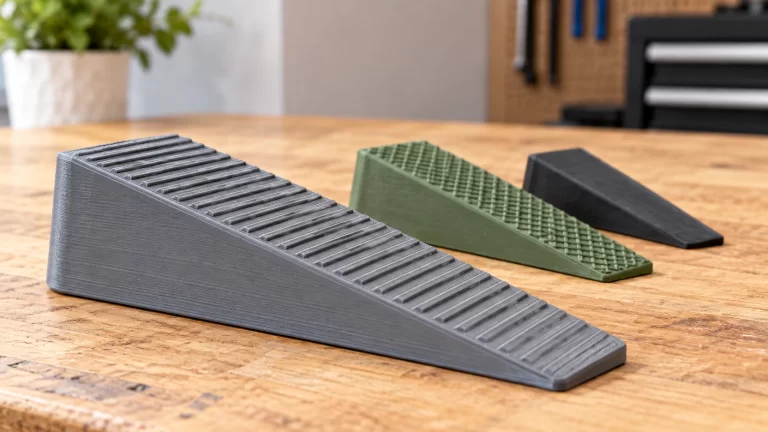
Furniture Leveling Wedge Builder
Create a custom tapered leveling wedge sized to the exact gap under furniture, fixtures, cabinets, or workshop equipment.