
Build a printable iPhone, Galaxy, or iPad mini stand with automatic size presets, snug or relaxed device clearance, custom artwork, and an optional cable passage.
Use our 3D printable phone stand builder to turn an SVG design or emoji into the decorated backrest of a modular desktop stand. Customize a separate base with text or artwork, adjust the two phone-resting arms, and preview the structural and decorative components before exporting for slicing.
Custom SVG and Emoji Device Stand Builder
Build a decorative backrest that follows the selected SVG, emoji, and optional lettering. Upload a vector SVG or choose an emoji, add optional text, and the builder traces the complete artwork layout into a smooth contoured backing. Choose padding, softness, and smoothing to refine the silhouette instead of accepting a fixed oval or rectangular plaque. The complete raised SmartSVG artwork is a separate printable face that attaches to the contoured backing.
Optional Contoured Glow Layer
Enable a second, thinner contoured layer between the backing and the face artwork. Set its padding, softness, thickness and preview color independently using the integrated glow controls. The glow and raised artwork are separate printable layers, avoiding risky unions across small SVG details. Glue them onto the structural backrest after printing. The Separate SVG option can produce additional individually printable color layers.
Desktop or Elevated Artwork-Mounted Phone Stand
Preset dimensions and fit: Choose iPhone 17, iPhone 18 Pro or Pro Max, Samsung Galaxy S26/S26+/Ultra, or iPad mini (2026 A20 Pro) and the builder automatically sets base size, arm spacing, arm length, lip height and artwork area from the selected bare-device dimensions. The Snug and Relaxed choices adjust the available support-arm reach; a separate per-side case allowance can account for added phone or tablet case thickness. You can also enter your own device width, height and thickness using Custom Measured Device. These are design starting points, not a certified snap-fit or load rating. The iPad mini preset uses the stable base-mounted cradle rather than the unapproved elevated tablet configuration.
Optional charging cable route: The Elevated artwork-mounted design offers a centered, rounded charging cable passage in the lower backrest neck, with adjustable 12–20 mm width. The hole is cut all the way through the printable backing only when a continuous reinforced wall remains around it and the separate artwork/glow layers will not cover it. In constrained layouts the builder asks you to move the artwork or use a narrower opening rather than export a weak stand. Verify your actual USB-C plug, port alignment and cable bend radius. The base-mounted cradle leaves charging access between the support arms without a backrest passage.
Print-ready exports in either preview: Choose Assembled to inspect how the stand fits together, or Print Layout to see the separated pieces on the bed. STL and 3MF exports always use the flat-oriented, non-overlapping Print Layout positions regardless of the preview mode currently selected. The export preserves each independently printable part and its material/color information, including separate SVG color layers when selected. You do not need to switch the preview before downloading a print file.
Adjustable artwork vertical position: In the elevated stand configuration, move the whole emoji/SVG artwork and contoured backrest design from 25 mm lower to 25 mm higher using the Artwork Vertical Position slider. Negative positions lower the silhouette into the cradle. Artwork may extend visually across the direct arm insertion openings; the builder does not force it to rise just to avoid those outlines. The two through-slots remain fixed to support the arms. Because the decorative SVG/emoji and optional glow are separately printed plates, check that they do not physically block the openings or the arm tenons before printing and assembly.
Flat-printable backrest with adjustable viewing angle: The contoured SVG or emoji backrest stays straight, so its rear face lays flat on the print bed. Set a 5°–25° viewing angle and the builder angles the backrest receiving socket in the base instead of bending the artwork. The thicker rectangular insertion tab projects only toward the decorated front, so the structural backrest and its tab share one continuous flat rear face for support-free back-down printing. The insertion position adjusts automatically within the base footprint to preserve clearance and reduce overhang risk. If the selected dimensions and angle exceed the guarded footprint, adjust the base depth, artwork height, or angle before exporting.
Straight support arms without cuffs: The elevated configuration now uses two simple constant-section arms with small retaining lips. Each arm enters a rectangular through-slot cut directly into the same flat structural backrest. The backing retains integrated flush shoulder material around the openings and tapered lower support braces, but no separate raised cuffs, sleeves, or horizontal cross-band. A through-tenon passes the full backrest thickness; the earlier deep blind socket and its 5.4 mm floor are no longer claimed. Check arm retention with your selected material and fit method before holding a phone.
Choose Base-mounted cradle for the original low-profile stand with the two support arms in the desktop base. Choose Elevated artwork-mounted arms for straight, direct-insert support arms mounted into the flat backrest. The two structural arm openings lie within the planar backing; no bulky raised mounts are added in front or behind the artwork. The angled base socket controls backrest lean, and each arm’s constant-thickness support surface compensates for the selected angle.
Use Raised Arm Height and Artwork Vertical Position to customize the cradle/artwork relationship independently. The artwork can overlap the arms visually. Since multicolor SVG faces and optional glow layers print independently, ensure their assembled position does not cover the direct arm slots or block full tenon insertion. Printed phone load capacity, press-fit retention, and tip resistance require real-world confirmation.
Modular Assembly and Fit
Print the base, backrest, left arm, and right arm individually. In base-mounted mode each arm seats in a rectangular base socket; in elevated mode the two arms connect to the artwork upright while the backrest still seats in the base. Adjust arm spacing and retaining lips for a phone or compact tablet, and choose press-fit or glue-fit assembly. These plain rectangular peg-and-socket joints are easy to identify. Desktop Press Fit uses the adjustable clearance. Raised-arm Press Fit uses a small adjustable interference, because horizontal pegs must resist pulling out; Glue Fit creates adhesive clearance. Do not force a tight press fit that stresses the artwork backrest. Actual grip and load capacity depend on printer, material and real-world testing. This initial design is not intended for large tablets or laptops; measure your actual device and case before use.
The stand has four modular structural pieces: the personalized desktop base, contoured backrest, and separate left and right support arms. The raised artwork is a fifth piece; enable the glow layer to add a sixth. Selected multicolor SVG modes may create additional decorative prints. Assemble the decorative layers after the mechanical pieces fit correctly.
Recommended Print Settings
- Material: Start with PLA for indoor display; consider PETG for additional toughness or warmer surroundings, adjusting the fit clearance to your filament and printer.
- Nozzle and layer height: A 0.4 mm nozzle and 0.2 mm layers are useful starting points. Use 0.16 mm layers where fine SVG or emoji contours benefit from more detail.
- Walls: Use at least 4 perimeters where practical around the direct arm through-slots, straight arm roots and reinforced backrest neck. Inspect the sliced holes and surrounding continuous walls; increase backing thickness or adjust fit if the tenons feel loose.
- Infill: Start around 25–35% for the structural base, backrest and arms. Increase if your test print flexes or the device is heavier; infill does not replace sufficient walls.
- Supports: Inspect the slicer preview of each part. Contoured artwork backing, raised lettering, glow steps and arm retention lips may require targeted supports depending on the selected orientation. Do not assume every configuration is support-free.
- Orientation: Place the base flat on the build plate; orient the contoured artwork backrest with its broad rear face down; orient each separate arm on its broadest flat side. Inspect rectangular pegs to avoid unsupported islands.
- Fit and finishing: Print an initial test-fit set before full assembly. Remove support or elephant-foot material from the tabs and sockets. Check that both arms seat without cracking, and test tabletop stability.
Related Custom 3D Printing Tools
For other printable emoji or SVG silhouettes, try the Silhouette Art Maker with Stand. If you enjoy adding artwork to household projects, the Custom Coaster Builder also supports personalized surfaces.
Check load-bearing fit before leaving any phone unattended; do not use the stand for a laptop or a heavy tablet.
Related Builders

Pumpkin Face & Decorator Builder
Design your own 3D printable pumpkin decorations without modeling software. Mix and match eyes, noses, mouths, surface accessories, and dimensional 3D toppers,…
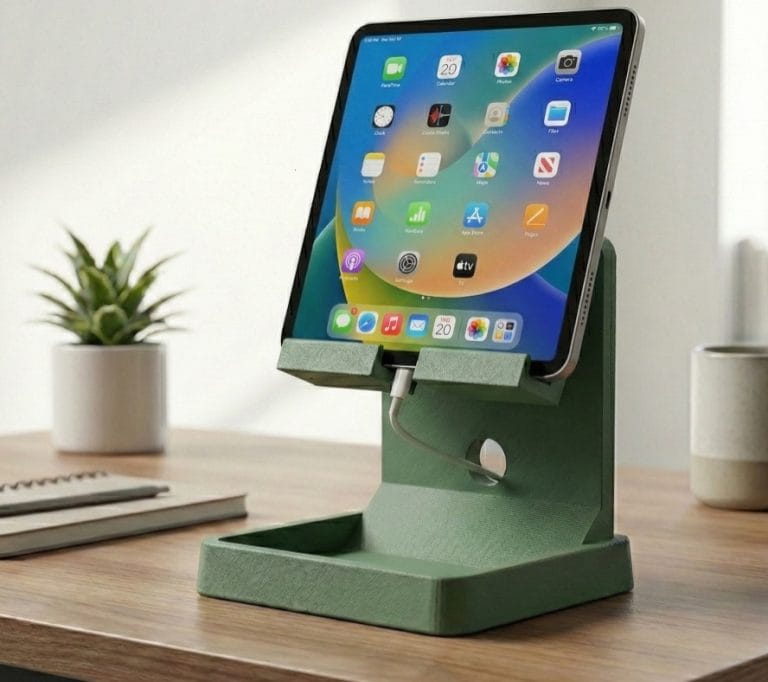
Custom Phone, Tablet & Device Holder Builder (3D Printable)
Design fully customizable 3D printable device holders for iPads, iPhones, tablets, phones, and other electronic devices. This online builder lets you adjust…
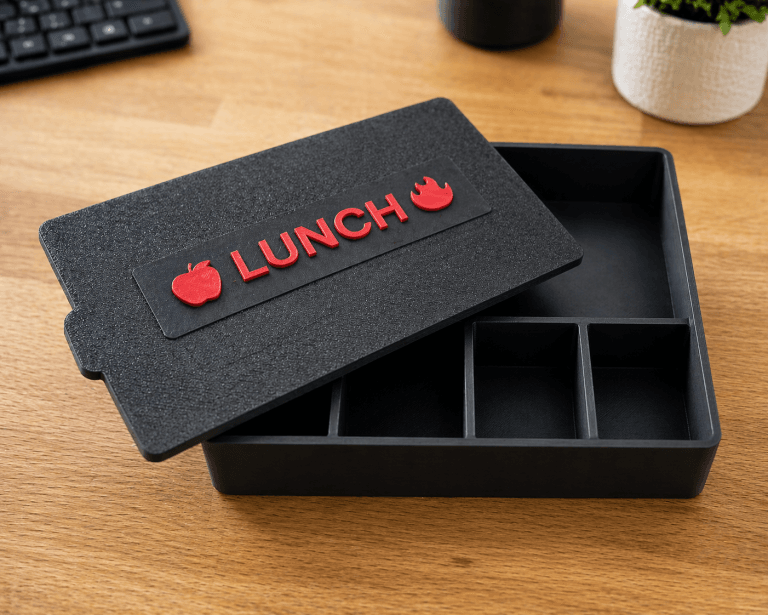
Custom Compartment Box Builder | 3D Printable Lunchbox & Storage Box
Create your own custom 3D printable compartment box with a secure snap-on lid using this interactive builder. Design the perfect layout for…
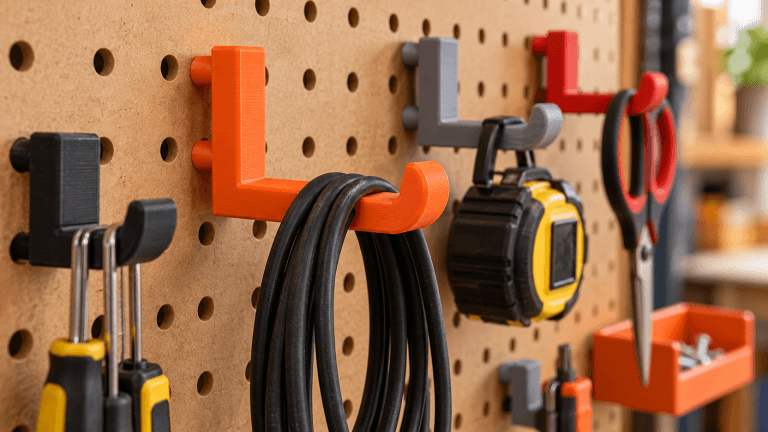
Pegboard Hook Builder
Create a custom printable pegboard hook with independent peg fit, rounded or angular hook geometry, and print-ready orientation.