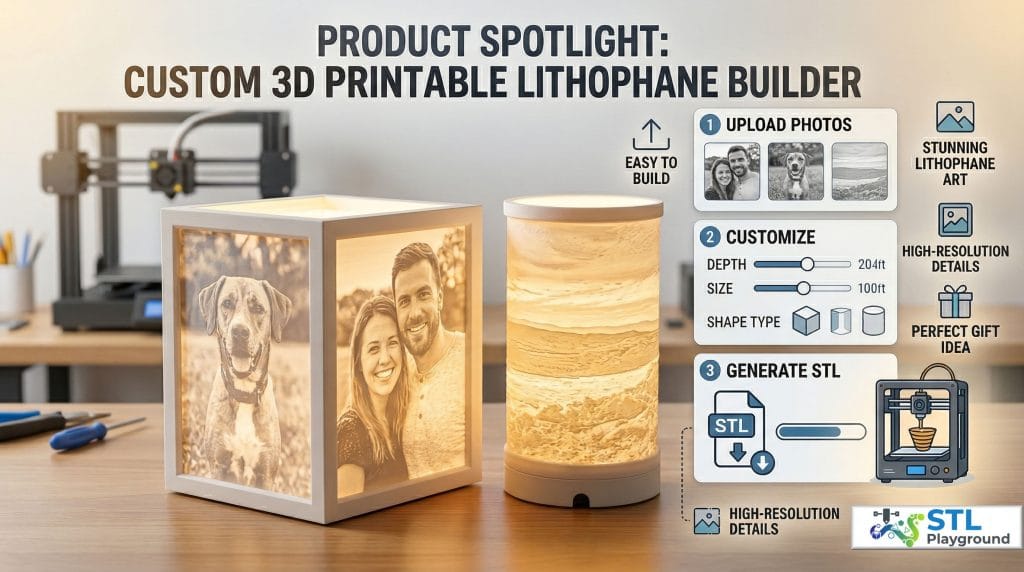
3D Print Your Photos With Our Custom Lithophane Builder
If you are looking for that perfect, jaw-dropping personalized gift, or just want to add a unique, glowing ambiance to your living room, you have to try 3D printing a lithophane panel.
For those who might be new to the concept, a lithophane panel is a 3D print with varying thicknesses that looks like a plain, textured surface when unlit. But the moment you put a light source behind it—pure magic. The thinner areas let more light pass through, while thicker areas block the light, creating a stunning, highly detailed grayscale photographic image.
Creating the files for these used to require navigating clunky software, but we’ve streamlined the entire process. Welcome to the Custom 3D Printable Lithophane Maker.
Effortless Creation, Stunning Results
We built this tool with one goal in mind: making it incredibly easy to go from a standard digital photo to a ready-to-print STL file in seconds. No 3D modeling experience is required.
Just upload your favorite picture, tweak the dimensions to fit your space, and hit generate. The builder instantly calculates the depth and geometry needed to make your image pop.
As you can see in the featured image above, the results are incredibly versatile. Whether you want to create a sleek, modern box lamp to showcase family portraits and pictures of your pets, or a soothing, wrap-around cylindrical nightlight featuring a scenic beach landscape, the builder can handle it. When illuminated from within, these prints transform from standard white plastic into warm, glowing centerpieces that capture every shadow and highlight of the original photo.
Printing Tips for the Perfect Glow
To get that crisp, high-definition look, here are a few quick tips for the slicing stage:
Print Vertically: Always print your lithophanes standing up rather than flat on the build plate. This allows the Z-axis resolution to capture the fine details of the image.
100% Infill: You want solid plastic to control the light transmission. Set your infill to 100% or increase your wall line count so the model is completely solid.
Use White PLA or PETG: Standard white filament is the industry standard for lithophanes because it diffuses the light perfectly and creates the best contrast.
Dial in Your Speed and Cooling: High resolution is your best friend here. If you are running a fast machine like a Creality K1 Max, you can take advantage of the stable CoreXY motion, but be sure to dial back the speed slightly on the outer walls and ensure your part cooling fan is running high to capture those crisp micro-details without any sagging.
Start Building Your Own Lithophane Art
Ready to turn your camera roll into glowing 3D art? Stop messing with complicated mesh generators and try the easiest workflow available.
Head over to the 3D Printable Lithophane Maker now, generate your custom STL, and warm up the printer! Let us know what amazing memories you bring to life.
Table of Contents
Continue Exploring!

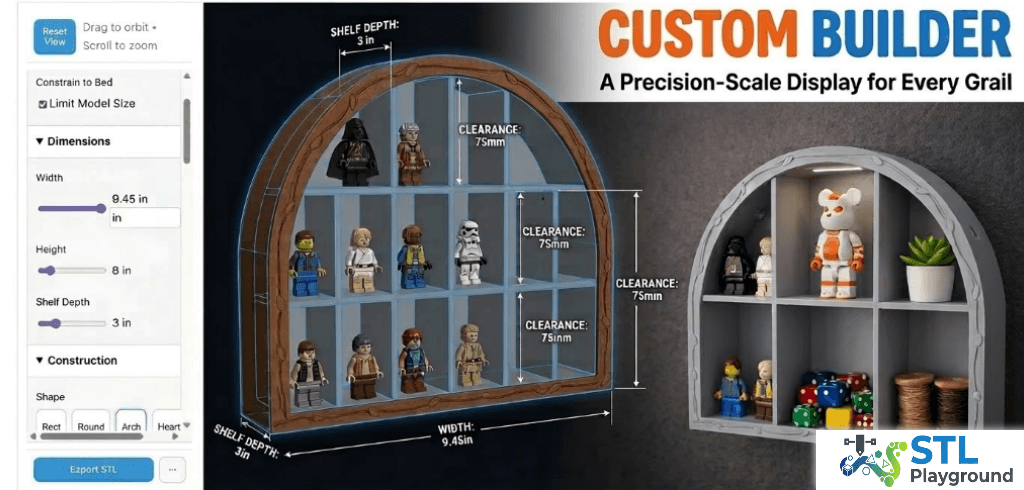
The Solution is our Custom 3D Printed Display Shelves If you’re a collector, you know the struggle. You spend months hunting down a rare 100% Bearbrick or completing a LEGO [...]
-
Our Custom 3d Printed Screw Top Containers are so Versatile You Won't Be Able to Stop at One!! We’ve all been there: you have a handful of random screws, a [...]
-
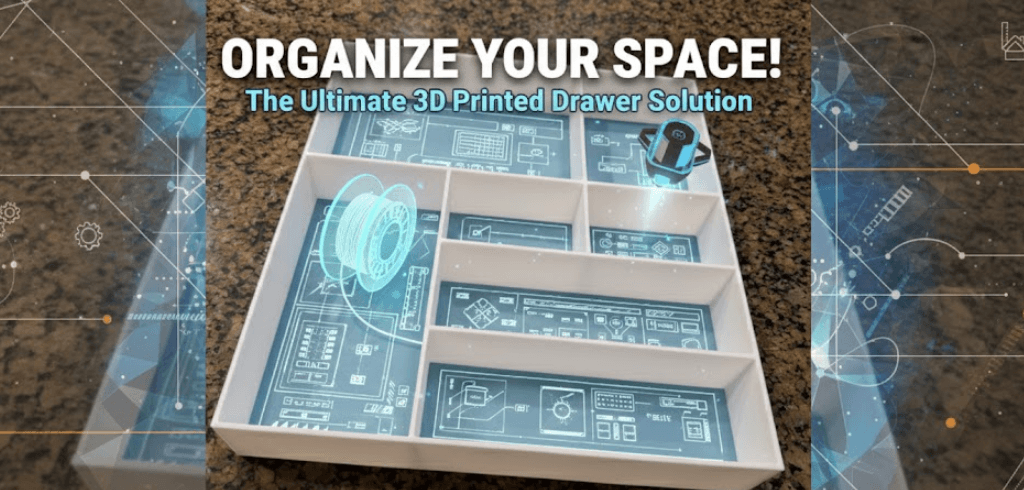
Design the Ultimate Custom Drawer Organizer for 3D Printing in Minutes! Hey everyone! Are you afraid to open that drawer? You know the one—the kitchen drawer where spatulas get tangled, [...]

Design the Perfect Storage Box for 3D Printing in Seconds! Hey everyone! Are you tired of a messy pantry, loose screws rolling around your workbench, or game pieces that just [...]