
Design a custom 3D printable employee name badge for peel-and-stick commercial magnetic badge holders, with personalized text, logos, and a flat rear hardware mounting surface.
Create a custom 3D printable magnetic name badge for employees, staff, volunteers, events, classrooms, clubs, and customer-facing teams. This builder combines a personalized front badge with a separate magnetic fastener so the finished badge can attach to clothing without a pin passing through the fabric.
Design a Custom Magnetic Employee Name Badge
Use the builder to control the badge dimensions, shape, text layout, artwork, and magnetic attachment hardware. Add a prominent employee name, smaller job title, department or company name, and an optional logo, emoji, or uploaded SVG. The live 3D preview lets you check the assembled badge before exporting the printable parts.
If you need a freestanding version for a desk or counter, try the Custom Desk Name Plate Builder. For a simpler hanging or keychain-style tag, the STL Nametag Generator remains a better fit.
Use a Peel-and-Stick Magnetic Name Badge Fastener
This builder is designed around complete commercial magnetic name-badge fasteners rather than loose magnets or a second printed backer. The printed badge stays flat on the rear. Peel the protective film from the fastener’s adhesive plate and press that plate directly onto the back of the badge. The matching magnetic bar then sits inside the shirt, jacket, apron, or uniform and holds the badge through the fabric.
The builder uses a 45 × 13 mm hardware footprint as a practical default because that is a common size for magnetic badge holders. Actual products vary, so measure the holder you purchase and adjust the hardware preview dimensions when needed. Commercial fastener hardware is shown only for assembly reference and is never included in STL, OBJ, or 3MF exports.
Flat Rear Surface for Reliable Adhesion
The back of the printed badge is intentionally flat instead of using magnet pockets or a printed magnetic carrier. This gives the supplied pressure-sensitive adhesive the largest continuous bonding area, reduces print time, and lets the badge work with widely available replacement magnetic holders. Clean the printed surface before attaching the adhesive plate and follow the hardware manufacturer’s installation instructions.
Personalize Names, Titles, Companies, Logos and More
The badge personalization system supports multiple text lines with independent sizing, a shared font picker, inline emoji, and a main artwork area. Use text-only layouts for a traditional professional badge, place a company logo to the left or right of the text, or center artwork with text above and below it.
- Employee or staff name
- Job title or role
- Company, department, school, club, or organization
- Emoji or symbol
- Uploaded SVG logo or graphic
- Adjustable text and artwork depth for multicolor-friendly prints
For larger room or office identification instead of a wearable badge, the Custom Door Nameplate Builder provides a modular sign system designed for doors and shared spaces.
Badge Shapes and Sizes
Choose a rounded rectangle for the familiar professional name-badge look, a capsule shape for softer fully rounded ends, or square corners for a more technical style. Width, height, thickness, corner radius, and content margins can all be adjusted to match the amount of text and artwork in your design.
Assembled Preview and Print Layout
Use the assembled view to see how the printed badge, adhesive badge plate, garment gap, and magnetic fastener bar align. The commercial fastener is shown only as an assembly reference and is never included in the printable exports.
Switch to Print Layout to place the badge flat for slicing. STL and OBJ export the printable badge, while 3MF can preserve the badge base, text, and artwork as logical color-aware parts for workflows that support multicolor preparation.
3D Printing Tips for Magnetic Name Badges
Recommended Print Settings
- Material: PLA for everyday indoor badges; PETG for extra impact or heat resistance.
- Layer Height: 0.12–0.2 mm; use 0.12–0.16 mm for finer raised letters or a detailed inset border.
- Walls: 3 perimeters to strengthen the thin badge edge and optional border.
- Infill: 15–25% gyroid or grid is a useful starting point for lightweight badges.
- Supports: Usually off; the flat-backed badge and raised face details generally do not need supports.
- Orientation: Print with the flat rear against the build plate and the name/text facing up. This preserves the flat mounting surface for the commercial adhesive plate.
- Adhesion and fit: Use a clean build plate and consider a brim for long, narrow badges. Check text clearance and choose your filament profile before a batch print.
- Multicolor: Pause at the badge face, inset border, or optional glow layer height for color changes, or use a slicer capable of assigning color-aware 3MF parts.
Choose Single-Piece Print or Layered Assembly
The Print Construction setting gives you two ways to build your custom magnetic name badge. Choose Single-Piece Print for a connected model that can be printed in one filament color or assigned multiple colors in a compatible 3MF slicer. Choose Layered Assembly (Print & Glue) for separately printable components that can be combined after printing without a multicolor printer.
- Badge base: Print the structural badge in your preferred base filament color, with the flat rear left clear for your purchased magnetic attachment.
- Accent face with raised text: When the accent face is enabled, print this as one combined component with raised lettering. Use a filament change at the raised-text layer if you want a separate text color on a single-nozzle printer. When the accent is disabled, the lettering stays joined to the badge body.
- Separate inset border: If enabled, print the perimeter frame in a contrasting color. The accent panel includes a small mating clearance so the frame can surround it without interference.
In Print Layout, the individual pieces are arranged flat and apart from one another. STL and OBJ downloads include separately named component files in the export ZIP; the multi-part 3MF retains the arranged color-aware pieces. Before gluing, dry-fit all parts, remove any brim, and clean the mating faces. Apply a thin film of plastic-compatible adhesive to the flat contact surfaces, align the accent and frame carefully, and allow the glue to cure according to the adhesive instructions. Keep the badge’s rear surface clean for the purchased peel-and-stick magnetic plate. For small raised letters, use the printed accent/text piece instead of trying to glue individual letters.
Measure the Hardware First
The 45 × 13 mm preview is a common format, not a requirement. Measure the adhesive plate and magnetic bar on your actual fastener before producing a large batch, especially when using a three-magnet or heavy-duty holder.
Test One Badge Before Printing a Full Set
Print one finished badge and install the purchased fastener before producing badges for an entire team. Confirm the adhesive bond, holding strength through the intended garment, overall weight, and comfortable placement.
Use the Fastener’s Supplied Adhesive
Most magnetic name-badge fasteners include pressure-sensitive adhesive on the badge-side plate. Use that supplied adhesive when possible instead of gluing loose magnets into the print. If replacement adhesive is required, use a thin high-bond tape compatible with the printed material and clean both surfaces before application.
Choose Materials for the Environment
PLA works well for many indoor employee badges. PETG can provide better heat and impact resistance for badges that may be left in vehicles, used outdoors, or handled frequently.
Other Personalized Tag Builders
Need a different type of identification tag? The Custom Luggage Tag Builder is designed for bags, equipment cases, travel gear, and two-sided contact information. You can also read Make Your Mark with Awesome 3D Printed Two-Color Nametags for additional ideas on personalized 3D printed tags.
Magnet Safety
Strong magnets are not appropriate for every user or environment. Keep small magnets away from children and pets because swallowed magnets can cause severe injury. People with pacemakers, implanted medical devices, or other magnet-sensitive equipment should follow the device manufacturer’s guidance and may need a non-magnetic badge attachment instead.
Create Your Magnetic Name Badge
Set the badge size, enter the dimensions of your purchased magnetic fastener for preview, add the name and workplace details, position a logo or other artwork, preview the assembled badge on a garment, and export the finished 3D printable badge.
Related Builders
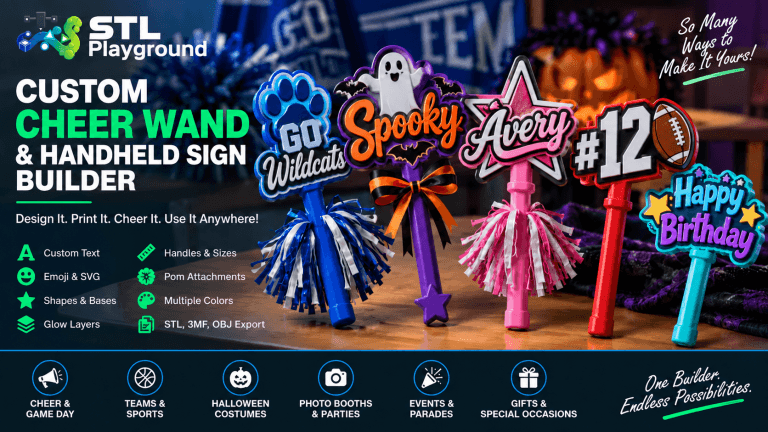
Cheer Wand
Create a Custom 3D Printable Cheer Wand or Handheld Sign The Custom Cheer Wand & Handheld Sign Builder gives you an easy…
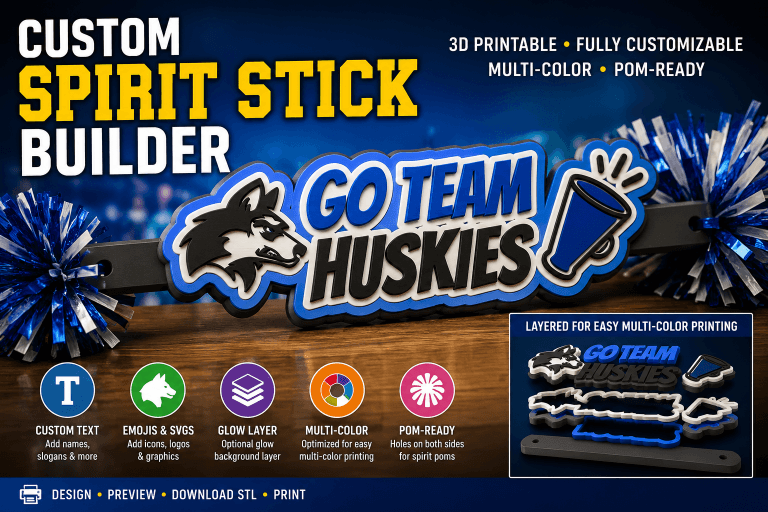
Custom Spirit Stick Builder
Create a fully customized 3D printable spirit stick for cheer, pep rallies, school events, teams, and competitions. This builder makes it easy…
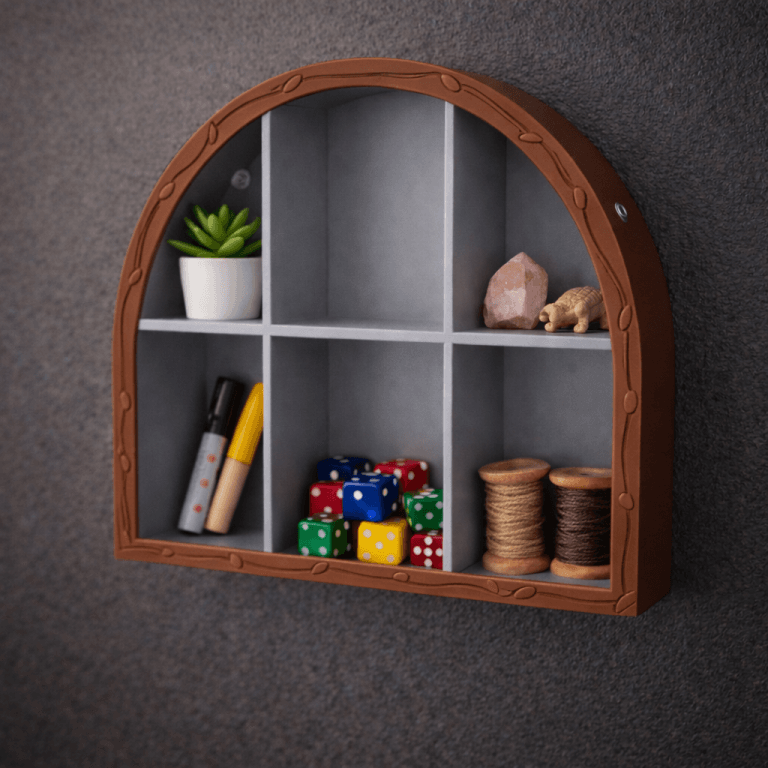
Custom Wall Shelf Builder | Design 3D Printable Shelves
Design your own custom 3D printable wall shelves using this interactive builder. Create shelves with customizable rows and columns, choose different shapes,…
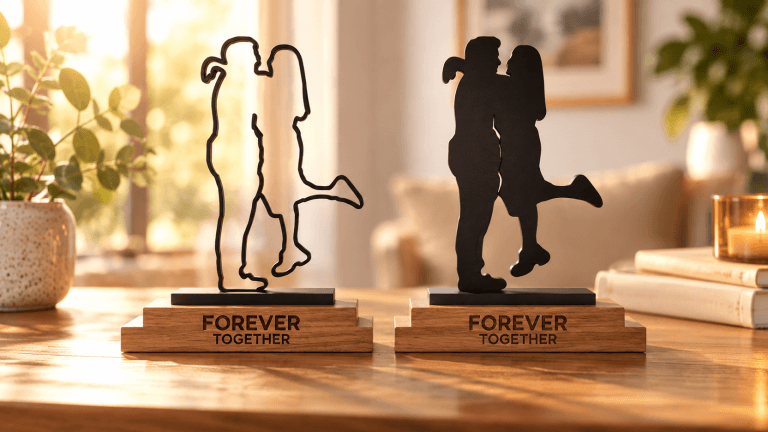
Silhouette Art Maker With Stand
Create printable solid or detailed-outline silhouette art from Emoji or SVG artwork, with a personalized display stand or an integrated cake-topper spike.