Hi, I’m Fil, and not all of us are lucky enough to have a multi color 3D printer. When you have them, they are great, but sometimes you really want or need to print multiple colors with a single filament machine. Well, it’s not that hard if you are willing to play a bit.
 Hi, I’m Fil, and not all of us are lucky enough to have a multi color 3D printer. When you have them, they are great, but sometimes you really want or need to print multiple colors with a single filament machine. Well, it’s not that hard if you are willing to play a bit.
Here are a few quick tips
- Understand the limitations. Printing multiple filaments means a manual change every time the filament changes, so prints where there are more than one color from top to bottom means you will need to change your filament every layer. Try and avoid that if at all possible.
- Think about the design and the layout. Can the print lay in such a way that layers 1-20 are one filament and layers 21-30 are a second? That means only one filament change, which is very ideal
- Think about the filament. The filament itself needs to be able to bond with the previous layer after the switch. Try and find filament that has similar printing characteristics. i.e. don’t try and mix PLA with ABS or others that have very different characteristics. You can try it, but it may not work the way you want it to.
- Test and experiment with small samples. Mock up some small pieces to give it a try. Trying it for the first time on a 24 hour print probably isn’t the best idea.
Ok, now that we’ve laid the ground work, how do you actually do it?
As always you need a good slicer. I’ve always had Creality printers, so when they came out with a slicer I was on board. Others may have similar functionality, but I’m going to show you in the Creality Print slicer. I’m going to assume you know how to load models into the slicer and have it set up to your specific printer and filament settings.
Load your object
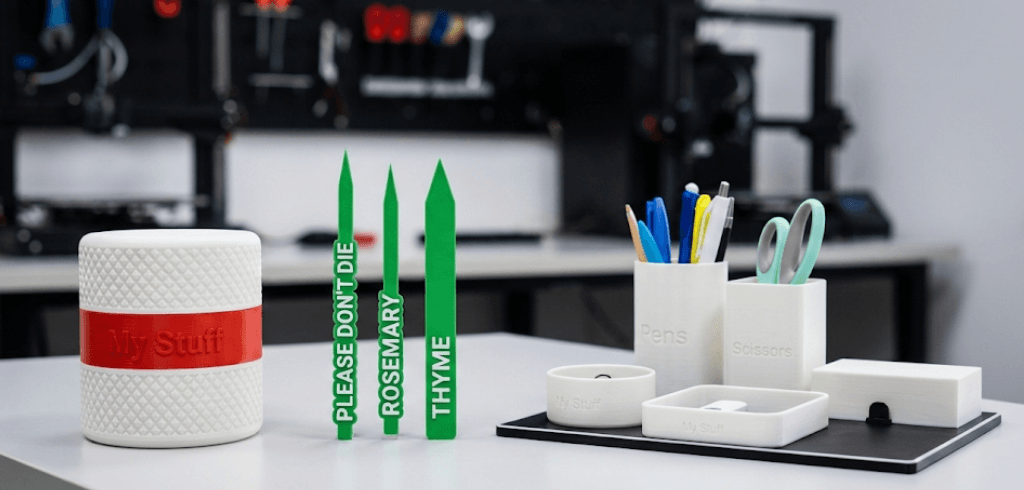
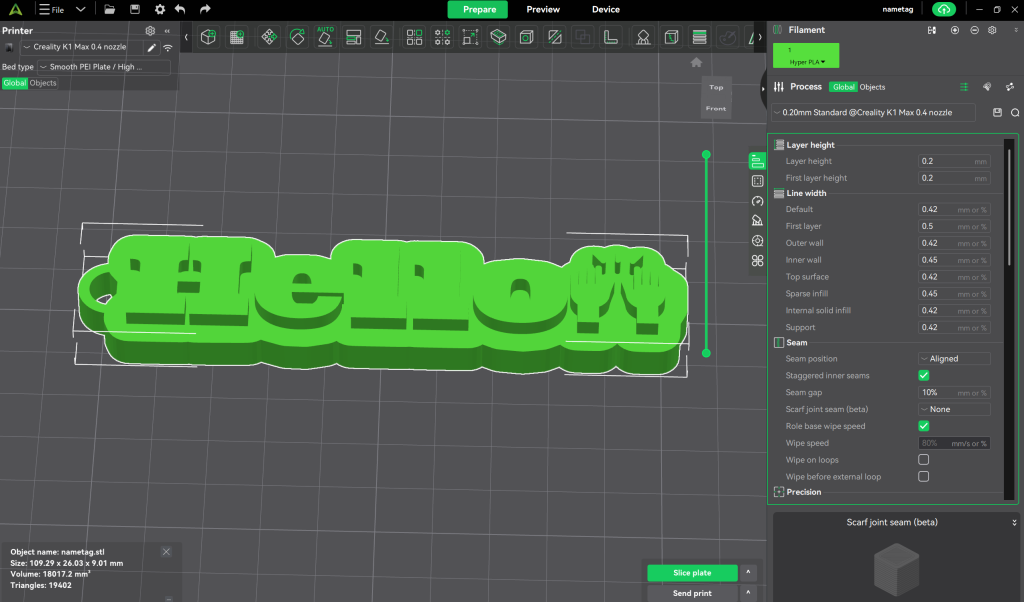
For this example I’ve loaded a nametag from our Nametag Generator tool. You can clearly see there is a base layer that we will want one color and the name layer that we will want another. Once you have loaded the object and it’s laid out with the correct face on the bottom, go ahead and Slice the project.
Add a Pause
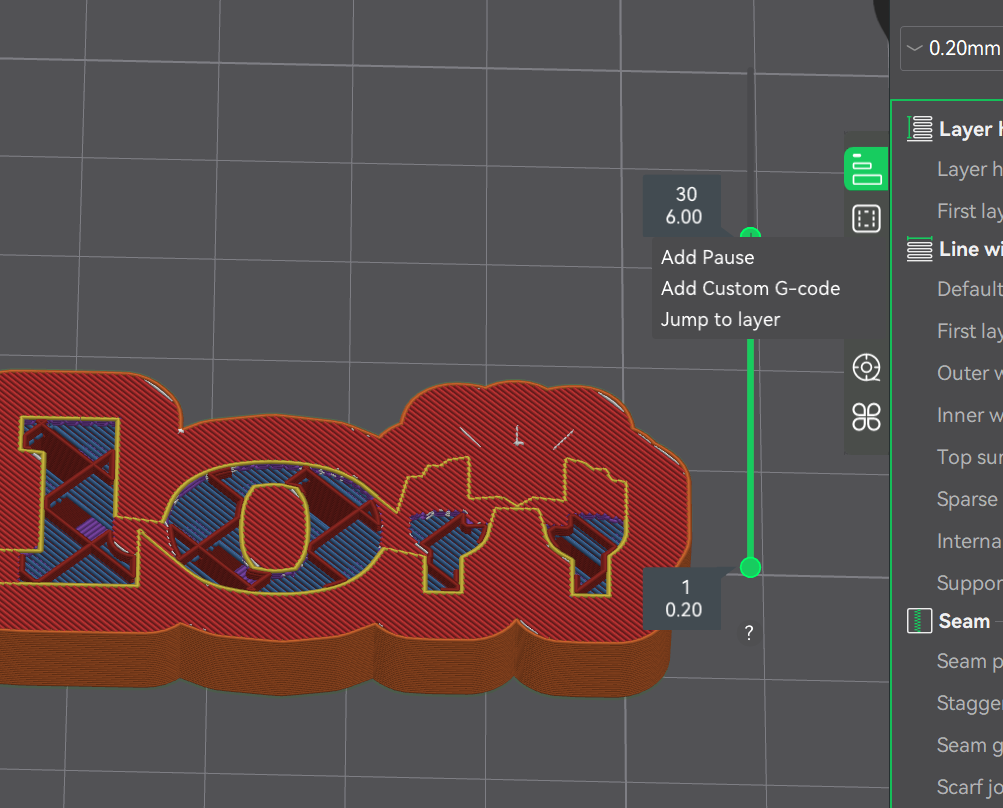
Once the print has been sliced, in the “Preview” window, you will see a slide on the right side that will scroll through the layers of the print as you push it up and down. Work with the slider until you find the exact layer that you want the new filament to start. In our example, I’ve selected the first layer after the base is completed. That will make the letters in the upper layers a different color. Once you have identified the layer, right click on the Green circle with a plus on the top of the slider, and the menu below will show up. Click the “Add Pause” and it will add a pause at the beginning of the layer.
That pause will cause the printer to stop printing and raise the print head away from the bed. Use the standard procedure for changing filament and then click resume on the printer to continue with the print. I’ve used this several times on my K1Max and it works great!!
Give this a try and let us know how it worked or if you have any other ideas to making awesome 3D prints.
Continue Exploring!

Hi, I’m Fil, and I love the speed and build volume of my K1 Max. It’s a beast. But for a long time, I looked at my Bambu Lab or [...]

Hi, I'm Fil, and not all of us are lucky enough to have a multi color 3D printer. When you have them, they are great, but sometimes you really want [...]